
Your drawings are finalized and the design is well underway; you’re ready to start the construction! You’ve prepared yourself and asked all the right questions (if you haven’t already done so read the previous posts with questions to ask both yourself and your contractor). So, what happens after you’ve signed the contract and construction is about to start? Here are some expectations of the process and some hints to make it a smoother experience!
Before your start date:
Be sure you’ve had a discussion with your contractor to answer those big questions (see post “Questions to Ask Your Contractor”) before you get started. It’s at this point that I recommend asking for a construction schedule from your contractor as well. This is a great guideline to understand when installations are happening so that everything is ordered and delivered before they start. If this isn’t something you do every day, having a design professional that can coordinate orders and scheduling deliveries for the contractors can be a huge help in the process. Your contractor should’ve also provided you a scope of services, keep this handy as you’re going through the project to be sure everything is being covered.
You may want to consider your neighbors before starting construction. Have a quick discussion on noise, parking, and safety. Including them early can save you from conflict down the road and they’ll appreciate the heads up before it starts.
You’re going to want to iron out some logistical questions. This will ensure that everyone is on the same page and you don’t have to confront them with issues that were not clearly defined.
- What are the working hours? You’ll want to know what time that you can expect them each morning and when quitting time is. Sometimes the days end can vary depending on scheduling other trades. There may even be times when there is period of no work but this should be outlined in the schedule and communicated so there are no surprises. Keep in mind delays will happen. The weather, delayed deliveries, inspections and a multitude of other issues can arise during an otherwise easy-going construction process.
- Where (if anywhere) is smoking allowed?
- What will clean up look like every day? If you’re living through the construction this is especially crucial. Will they plastic off the areas of work? Will they be sweeping up, removing trash daily? What do they do for clean up when leaving for the weekend?
- How do workers access your home? Are you providing a key, are there any codes they need to access? Be sure they have everything they need to come and go each day.
- Is there a restroom available for the workers? Will there be a portable toilet outside?
- Will a dumpster be on site? Be sure it is clear where it will be located and how they will be taking material from the home to the dumpster.
- Is there a space where tools and equipment can be stored on site?
- Are there pets that need to be considered? How will they be addressed?
- What is the parking situation: on street, driveway, garage?
- Will there be any signage on the property? Some companies may want to place signage in the yard. What size and how long?
Many homeowners will have furnishings moved to a safer location before any construction starts. You may want to move anything valuable away from the area of construction to eliminate any accidents. If they can’t go in another room of the home, consider a storage facility for the duration.
Construction is starting and understanding the timeline of events will help ease the process. Not every project will move in a clear line of events as some overlap or go back and forth but the following is a good guideline.
- Demo – Demolition is dirty, noisy and just a little bit scary. This is where all of the old comes out to make way for the new. Walls are coming down, tile and flooring are being ripped out and old materials are getting thrown into the dumpster. With demo underway, sometimes the unexpected or unforeseen can happen. Once everything is cleared and electrical, plumbing and hvac are exposed, challenges can appear that were not clear before. Any issues that may arise should be addressed immediately to move forward.
- Exterior Construction – Depending on weather, this may include roofing, windows, doors, siding and gutters. Sometimes this is delayed depending on when construction starts (inclement weather) or it is worked on simultaneously with the interior.
- Framing and Structural Building – The framing for walls, windows, and doors will start to go up. Beams or columns for structural purposes will be installed. Floor joists may need to be repaired or replaced. In some places, if you’re permitting, an inspector will need to approve the framing.
- Utilities and Roughs – While studs are exposed and utilities are accessible, the electrical will be piped and outlets and switches will be installed, the plumber will feed water lines and ductwork for heating and air will be worked on. This is a good time to walk through the space with your design professional to be sure switches, outlets and rough electrical is where it should be based on the design. During this process, homeowners may start to feel anxious as progress is not as dramatically obvious. It’s the behind-the-scenes step that may feel tedious and slow but rest assured a lot is happening! After roughs, if you’re permitting, there will be an inspection from the city.
- Preparing Walls – drywall, sheetrock, green-board, etc. Once the roughs are in place the walls can be enclosed and prepared for treatment (whether that is paint or tile).
- Tile and Flooring – Tiling walls and floors will begin. This is where life begins in a bathroom! Typically, any wood flooring will be installed at this time too. However, they may wait to be stained and finished after walls have been painted so as to avoid any damage to the floors during the construction.
- Cabinetry – Once floors are ready the cabinetry can be installed. The design starts to really come to life here! Appliances can go in and get connected after the cabinetry is installed.
- Finishes, Fixtures – The countertop, sink and plumbing fixtures would go in after the cabinetry is installed. At the same time, the finish carpentry may be started which would include mouldings and casings, perhaps any built-ins or custom carpentry items.
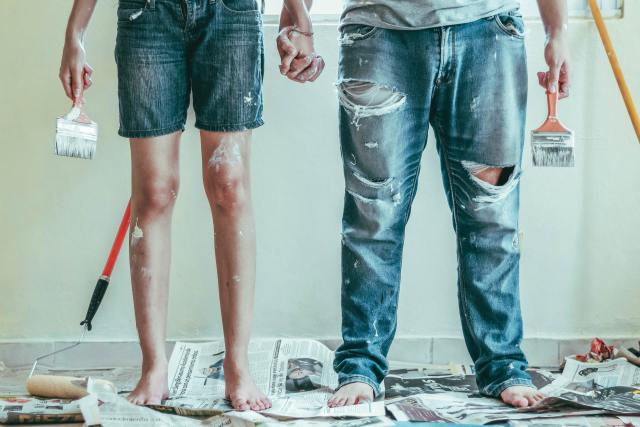
- Painting and Wallpaper – We’re almost done! The painting and wall finishes are one of the last items on the list so as not to get damaged. The floors could be stained and finished once painting is done.
- Details and accessories – Final details go in place. Accessories and lighting are installed. If you’re doing a kitchen the backsplash will be installed at this time as well. Hardware and any other touch-ups are last to be addressed.
Once the contractors are finished, a walk through and punch list should be created. The punch list will highlight any items that might’ve been overlooked or need to be touched up before your contractors pack up and leave. You would benefit having your design professional with you on the walk through to be sure everything as been installed and finished according to the design. Another eye is helpful in going over the final details as well!
Finally, enjoy your new home! Take a breath and congratulate yourself for your patience and don’t forget to recommend your hardworking contractor and designer! 😉